Laser engraving metal is a fantastic way to add depth and personality to your projects. One exciting technique that many artists and hobbyists are exploring is creating 3D effects with laser engraving. This blog will guide you through the process of achieving stunning 3D engravings on metal, explaining everything from the basics to advanced techniques. Let’s dive in!
NOTE: Are you ready to elevate your metal projects with laser engraving? Dive into the exciting world of laser engraving metal and start experimenting with 3D effects today! Whether for personal use or custom gifts, the results will impress you and those who receive your creations. Start your journey into laser engraving and unleash your creativity!
Understanding Laser Engraving on Metal
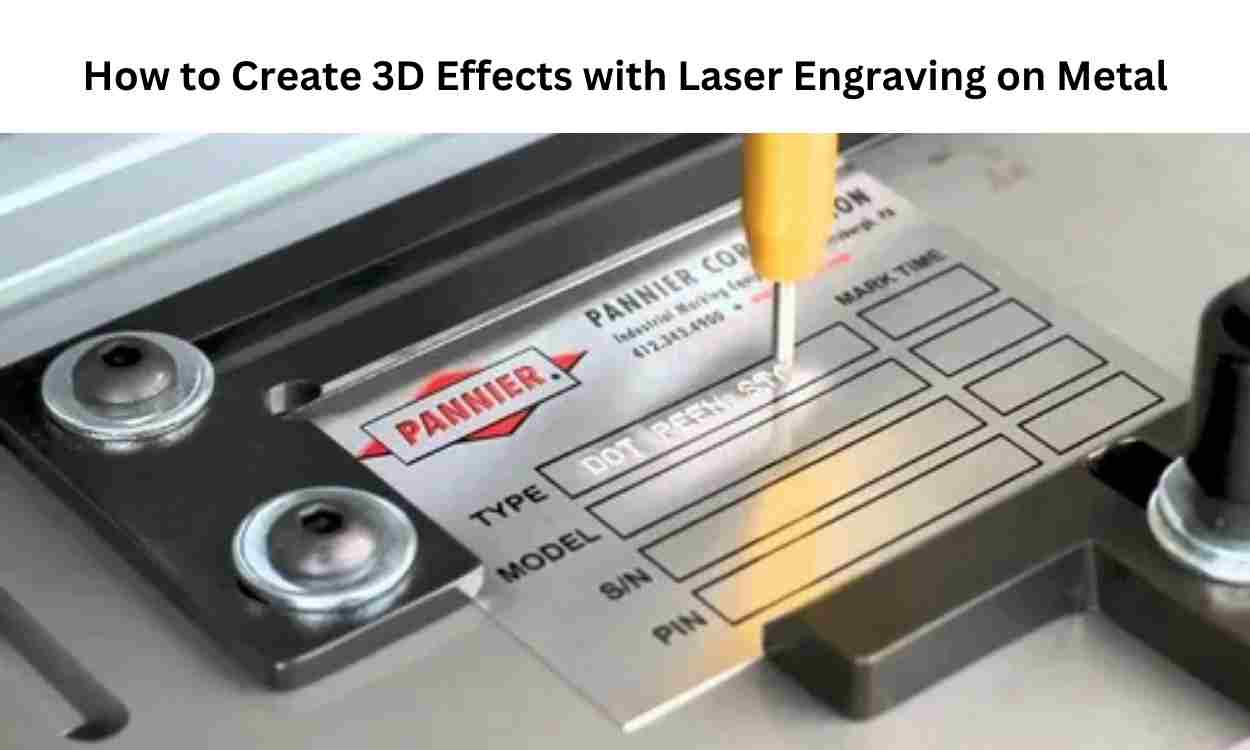
Laser engraving is a process that uses a focused beam of light to cut or etch designs into a material. When it comes to metal, laser engraving allows for high precision, meaning you can create intricate details that stand out beautifully. The technique is popular in many fields, including jewelry design, manufacturing, and custom gifts.
What Are 3D Effects in Laser Engraving?
3D effects refer to the illusion of depth and dimension created through engraving techniques. Instead of a flat design, a 3D engraving can make a design appear to pop off the metal surface, adding interest and visual appeal. This effect can be achieved through varying depths and shading techniques.
Why Use 3D Effects in Your Projects?
Adding 3D effects to your laser engraving projects can enhance the overall look and feel of your work. Here are a few reasons why you might want to incorporate 3D effects:
- Visual Appeal: 3D effects make your designs more eye-catching, helping them stand out.
- Depth: The added dimension can create a tactile quality, inviting viewers to touch and explore the piece.
- Personalization: 3D engravings can add a unique touch to gifts, awards, and other items, making them more special.
Getting Started with 3D Laser Engraving
To create 3D effects with laser engraving metal, you will need the right equipment and materials. Here’s what you’ll need to get started:
1. Choose Your Laser Engraver
Selecting the right laser engraver is crucial for achieving high-quality 3D effects. Look for a machine that has:
- Adjustable Settings: The ability to change power, speed, and frequency is essential for creating different depths.
- Compatibility with Metal: Make sure your engraver can handle the type of metal you plan to work with.
If you’re new to laser engraving, consider starting with a beginner-friendly model that offers good support and resources.
2. Select Your Metal Material
Different metals respond differently to laser engraving. Some of the most common metals used for laser engraving include:
- Aluminum: Lightweight and affordable, aluminum is a great choice for beginners.
- Stainless Steel: This metal is durable and perfect for high-quality engravings.
- Brass: Brass has a beautiful finish that can add elegance to your designs.
When selecting your metal, consider the finish you want to achieve. Polished metals often produce better results for 3D effects.
3. Get the Right Software
To create designs for your 3D engravings, you’ll need graphic design software. Look for programs that can handle vector graphics, as they allow for more precise designs. Some popular options include:
- Adobe Illustrator: A powerful tool for creating detailed designs.
- Inkscape: A free, open-source alternative that’s user-friendly.
- CorelDRAW: Another popular choice for laser engraving design.
Creating Your 3D Design
Now that you have your equipment and materials, it’s time to create your 3D design. Here’s how to do it:
1. Design Your Artwork
Start by sketching out your ideas on paper. Think about the shapes, patterns, and text you want to include. Once you have a clear vision, create your design using your graphic design software. Here are some tips for designing effective 3D engravings:
- Use Layers: Create different layers for different depths in your design. This helps the engraver know how deep to cut each part.
- Incorporate Shadows: Adding shadow effects to your design can enhance the 3D appearance. Use lighter and darker shades to create depth.
- Test Your Design: Before engraving on the actual metal, test your design on paper or a less expensive material to ensure it looks the way you want.
2. Adjust Settings for 3D Effects
Once your design is ready, it’s time to prepare your laser engraver. Adjust the settings according to the depth and detail you want to achieve. Here’s what to consider:
- Power Level: Higher power settings will cut deeper into the metal, while lower settings create shallow engravings.
- Speed: Slower speeds often result in deeper engravings, while faster speeds can create lighter designs.
- Frequency: This controls how often the laser pulses. Adjusting the frequency can help create different textures in your engraving.
3. Preview Your Design
Before you start engraving, use the software to preview your design. This step is crucial, as it allows you to check for any errors or adjustments needed. Make sure everything looks perfect before proceeding.
Engraving Your Design
Now that you’re ready, it’s time to start engraving your metal. Here’s how to proceed:
1. Set Up Your Metal Piece
Carefully secure your metal piece in the engraver. Ensure that it is flat and properly aligned, as this will affect the quality of your engraving.
2. Start Engraving
With everything set up, you can now start the engraving process. Press the start button and watch as the laser begins to etch your design onto the metal. Be sure to monitor the engraving to ensure everything is going smoothly.
3. Check the Results
Once the engraving is complete, check your work. If you’re happy with the results, you can proceed to finish your piece. If not, you can make adjustments for future projects based on what you learned.
Finishing Touches
Once your engraving is done, you may want to add some finishing touches to enhance the overall appearance of your metal piece. Here are a few ideas:
1. Polishing
Polishing your engraved metal can give it a shiny, professional look. Use a metal polish and a soft cloth to buff the surface. Be careful around the engraved areas to avoid damaging the design.
2. Painting
For a more vibrant look, consider adding color to your engraving. You can use paint or colored fillers that will settle into the engraved areas, enhancing the 3D effect.
3. Protective Coating
Applying a protective coating can help preserve your engraving and keep it looking fresh. Clear coatings are available that can protect the surface without altering the appearance.
Tips for Successful 3D Laser Engraving
Here are some additional tips to help you create stunning 3D effects with laser engraving metal:
- Practice: As with any skill, practice is key. Start with simpler designs and gradually move to more complex projects.
- Join Online Communities: Engaging with other laser engraving enthusiasts can provide valuable insights and inspiration. Consider joining forums or social media groups focused on laser engraving.
- Learn from Mistakes: Don’t be discouraged by setbacks. Each project is a learning opportunity that will help you improve your skills.
Conclusion
Creating 3D effects with laser engraving metal can take your projects to new heights. With the right tools, materials, and techniques, you can produce stunning pieces that showcase your creativity and skill. Whether you’re a hobbyist or a professional, the ability to create depth and dimension in your engravings opens up a world of possibilities.
For more insightful articles related to this topic, feel free to visit smallbizblog