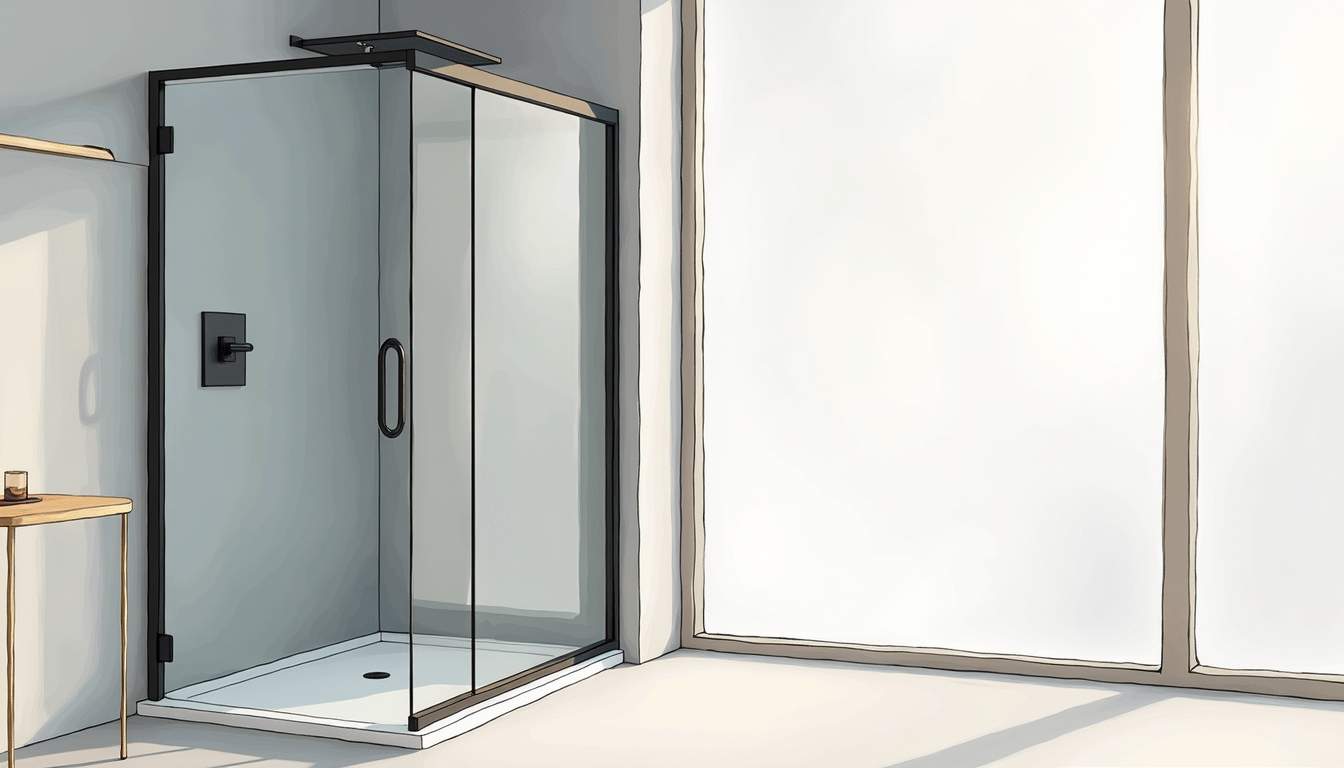
How to Install a Black Frame Shower Screen
Installing a black frame shower screen can transform your bathroom into a modern oasis. The sleek design not only enhances the aesthetic appeal but also offers practicality and durability. Whether you’re renovating or simply updating your space, this step-by-step guide will help you navigate the installation process with ease.
Understanding the Components
Before diving into the installation, it’s essential to familiarize yourself with the components of a black frame shower screen. Typically, these screens consist of a glass panel framed in black metal, which can be either aluminum or steel. The frame provides structural support and adds a touch of elegance. The glass itself is usually tempered for safety, ensuring that it can withstand the rigors of daily use while maintaining a sleek appearance. The black finish not only enhances the aesthetic appeal but also helps to hide water spots and fingerprints, making maintenance easier.
Types of Shower Screens
There are various types of shower screens available, including hinged, sliding, and bi-fold models. Each type has its unique installation requirements and space considerations. For instance, a hinged screen requires sufficient wall space to swing open, while a sliding screen is ideal for smaller bathrooms. Bi-fold screens, on the other hand, are perfect for maximizing space in tighter areas, as they fold inwards rather than swinging out. Additionally, some models come with customizable features, such as frosted or patterned glass, allowing homeowners to personalize their shower experience while maintaining privacy.
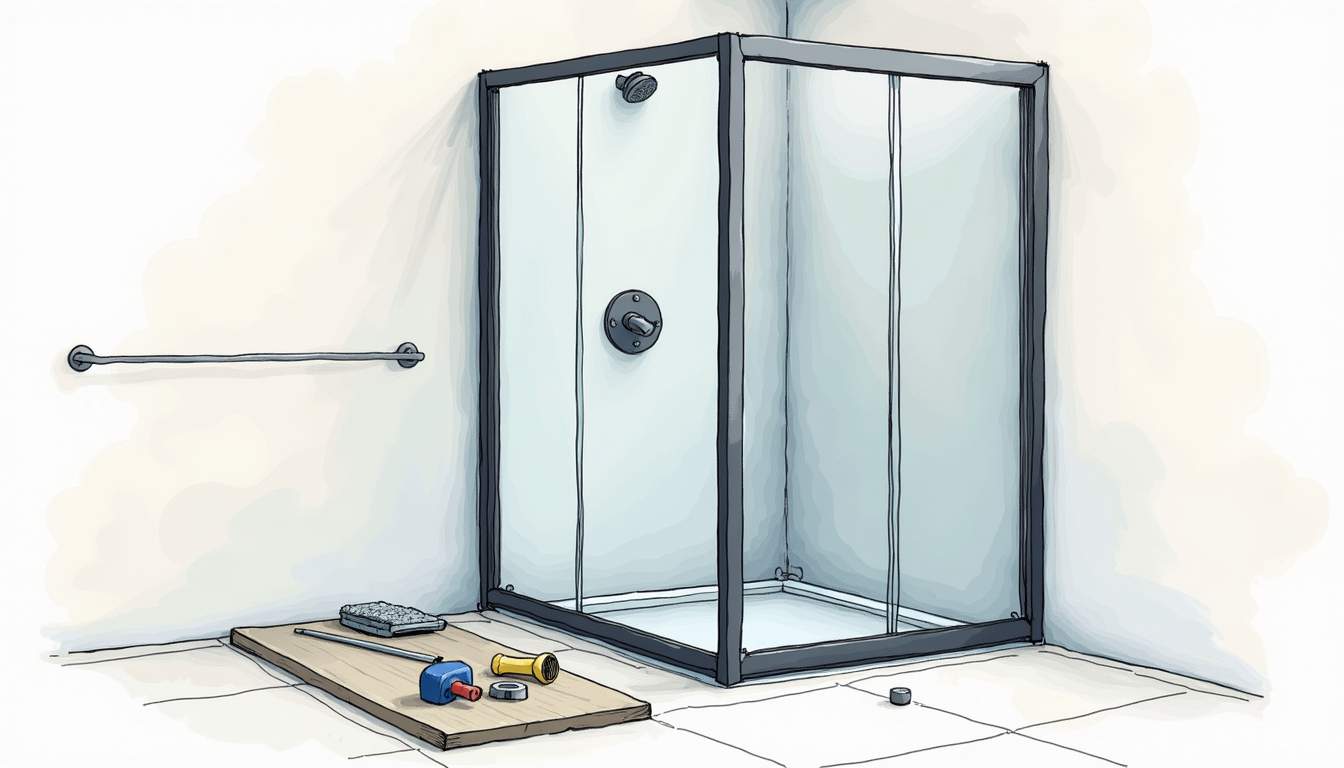
Tools and Materials Needed
Gathering the right tools and materials beforehand can save time and frustration during installation. Common tools include a drill, level, measuring tape, and a silicone sealant. Additionally, ensure you have the necessary hardware that comes with your shower screen kit, such as brackets and screws. It’s also wise to have a sponge or cloth handy for cleaning up any excess sealant or debris during the installation process. Furthermore, consider wearing safety goggles and gloves to protect yourself while handling glass panels, as they can be sharp and heavy. Proper preparation not only leads to a smoother installation but also ensures a safer working environment. For more tips and expert advice, be sure to visit Shower Screen Singapore.
Preparation for Installation
Proper preparation is crucial for a successful installation. Start by measuring the shower area to ensure the screen will fit correctly. Take into account the height and width of the space, as well as any obstructions like faucets or showerheads.

Measuring Your Space
Use a measuring tape to determine the dimensions of your shower area. Measure the width at the top, middle, and bottom of the space, as well as the height. This will help you identify any irregularities in the walls that may affect the installation. Additionally, it’s wise to jot down your measurements, as having a visual reference can prevent mistakes during the installation process. If you’re working with a particularly large or complex shower area, consider using a laser level for more precise measurements, which can help you visualize how the screen will fit into the overall design of your bathroom.
Checking the Wall Surface
Inspect the wall surface where the shower screen will be mounted. It should be clean, dry, and free from any mold or mildew. If necessary, repair any damage to the wall, ensuring a solid foundation for the screen. A level surface is vital to prevent water leakage and ensure the screen operates smoothly. Furthermore, if your walls are tiled, check the grout lines for any cracks or deterioration, as these could compromise the integrity of your installation. In some cases, applying a waterproof sealant to the wall before installation can provide an extra layer of protection against moisture, which is particularly important in a high-humidity environment like a bathroom.
Installing the Black Frame Shower Screen
With the preparations complete, it’s time to install the black frame shower screen. Follow these steps carefully to ensure a secure and proper fit.
Step 1: Mark the Installation Points
Begin by marking the points where the brackets will be installed. Use a pencil to indicate the locations on the wall, ensuring they align with the frame of the shower screen. Double-check your measurements to confirm accuracy. It’s also beneficial to have a second pair of hands during this step; a friend or family member can help hold the screen in place while you mark the points, ensuring everything aligns perfectly. This attention to detail at the outset can save you time and frustration later on.
Step 2: Drill Holes for the Brackets
Using a drill, create holes at the marked points. If you’re drilling into tile or a hard surface, consider using a masonry bit to prevent damage. After drilling, insert wall anchors if required; this will provide additional support for the brackets. Remember to wear safety goggles to protect your eyes from dust and debris. If you encounter any resistance while drilling, take a moment to assess the situation; it may be necessary to switch to a different drill bit or adjust your technique to ensure a clean hole.
Step 3: Attach the Brackets
Secure the brackets to the wall using screws. Ensure they are tightly fastened and level. This step is crucial as the brackets will support the weight of the shower screen. A level tool can help confirm that everything is straight. Additionally, consider using a rubber washer between the screw head and the bracket to reduce vibrations and prevent loosening over time. Once the brackets are in place, take a moment to step back and visually inspect the alignment; this will help you catch any potential issues before moving on to the next step.
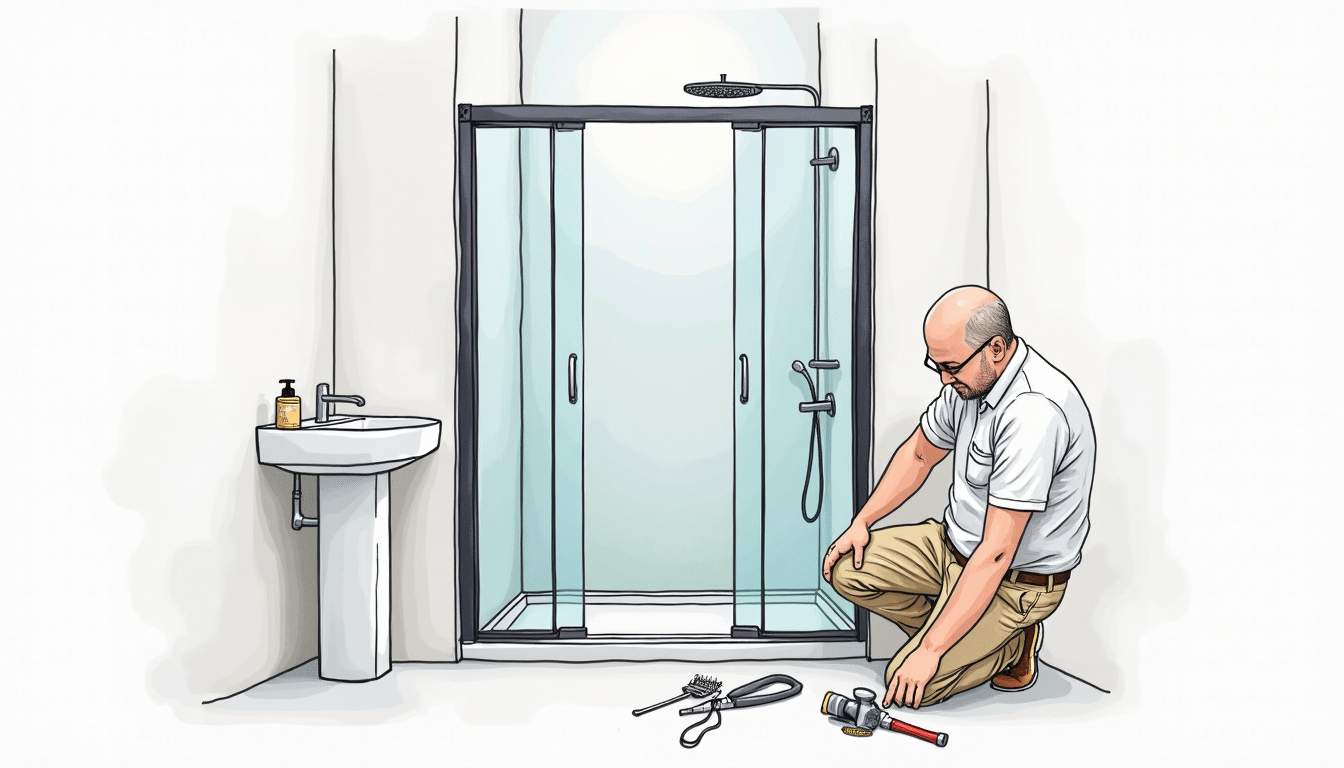
Mounting the Glass Panel
Once the brackets are securely in place, the next step is to mount the glass panel. This part requires careful handling to avoid any accidents. Glass panels can be heavy and fragile, so it’s essential to approach this task with caution. Additionally, wearing protective gloves can help prevent any slips or accidents during the installation process.
Step 4: Positioning the Glass Panel
With assistance, carefully lift the glass panel and position it into the brackets. Ensure that the panel is aligned properly and fits snugly within the frame. It’s advisable to have a second person help with this step to manage the weight and ensure safety. As you lift the panel, communicate clearly with your partner to coordinate movements effectively. This not only helps in maintaining balance but also reduces the risk of damage to the glass or injury to yourself. Take a moment to check the alignment from different angles to confirm that it sits evenly within the brackets.
Step 5: Securing the Glass Panel
Once the glass is in position, secure it according to the manufacturer’s instructions. This may involve tightening screws or clamps that hold the glass in place. Make sure everything is tight and secure to prevent any movement. It’s also important to double-check that the seals are intact and properly fitted, as this will ensure the longevity of the installation. If your glass panel is part of a larger structure, such as a shower enclosure or a display case, consider the overall design and functionality to ensure that the panel complements the surrounding elements. Additionally, take the time to clean the glass before finalizing the installation to avoid any smudges or fingerprints that could detract from its appearance.
Sealing and Finishing Touches
After the glass panel is mounted, it’s time to seal any gaps to ensure water doesn’t escape. This step is essential for maintaining a dry and mold-free bathroom.
Step 6: Applying Silicone Sealant
Using a silicone sealant, apply a bead along the edges where the glass meets the wall and the frame. This will create a watertight seal and help prevent leaks. Smooth the sealant with a finger or a sealant tool for a clean finish.
Step 7: Final Checks
Once the sealant is applied, allow it to cure according to the manufacturer’s instructions. After curing, check for any gaps or areas that may need additional sealant. It’s also a good time to clean the glass panel to remove any fingerprints or smudges from the installation process.
Maintenance Tips for Your Shower Screen
To keep your black frame shower screen looking its best, regular maintenance is essential. Here are some tips to ensure longevity and performance.
Cleaning the Glass
Use a gentle glass cleaner and a soft cloth to clean the glass panel regularly. Avoid abrasive cleaners or scrubbers that could scratch the surface. For tough stains or soap scum, a mixture of vinegar and water can be effective.
Inspecting the Sealant
Periodically check the silicone sealant for any signs of wear or damage. If you notice any cracks or gaps, reapply sealant as necessary to maintain a watertight barrier. This will help prevent leaks and water damage over time.
Conclusion
Installing a black frame shower screen can be a rewarding DIY project that enhances your bathroom’s functionality and style. By following this step-by-step guide, you can achieve a professional-looking installation with minimal hassle. Remember to take your time during each step, ensuring accuracy and safety throughout the process.
With proper maintenance, your black frame shower screen will not only look stunning but also provide a practical solution for your bathing needs. Embrace the modern aesthetic and enjoy your newly transformed bathroom space!