Introduction
Over time, driveways experience wear and tear due to weather, heavy traffic, and natural aging. Cracks, potholes, and fading can make a driveway look unappealing and less functional. Instead of replacing the entire driveway, resurfacing is a cost-effective and practical solution. Driveway resurfacing restores the surface, extends its lifespan, and improves its overall appearance.
This guide explains when resurfacing is necessary, the best materials to use, the resurfacing process, and key cost and durability factors.
Signs Your Driveway Needs Resurfacing
Knowing when to resurface a driveway can help prevent further damage and save on costly repairs. Here are the key signs that indicate resurfacing is needed:
1. Cracks and Surface Wear
- Small cracks on the surface can quickly expand due to moisture and temperature changes.
- If multiple cracks appear, resurfacing is a better option than filling each one individually.
2. Potholes and Depressions
- Potholes form when water seeps into cracks, causing erosion beneath the surface.
- Large potholes not only damage vehicles but also pose safety risks.
3. Faded and Worn Appearance
- Exposure to UV rays causes asphalt driveways to lose their rich black color.
- A faded driveway reduces curb appeal and indicates weakening of the material.
4. Water Pooling and Drainage Issues
- Standing water on the driveway surface signals drainage problems.
- Poor drainage accelerates deterioration, making resurfacing necessary.
5. Loose Gravel or Erosion
- If bits of asphalt or gravel start coming loose, the top layer is breaking down.
- Resurfacing adds a new protective layer to restore stability.
6. Age of the Driveway
- Most asphalt driveways last 15-20 years before needing major repairs.
- If the driveway is approaching this age and showing damage, resurfacing is recommended.
Best Resurfacing Materials
Choosing the right material ensures durability, smoothness, and longevity. Here are the most common options:
1. Asphalt Resurfacing
- Ideal for existing asphalt driveways that need a fresh layer.
- Provides a smooth, black finish and enhances durability.
- More affordable compared to complete replacement.
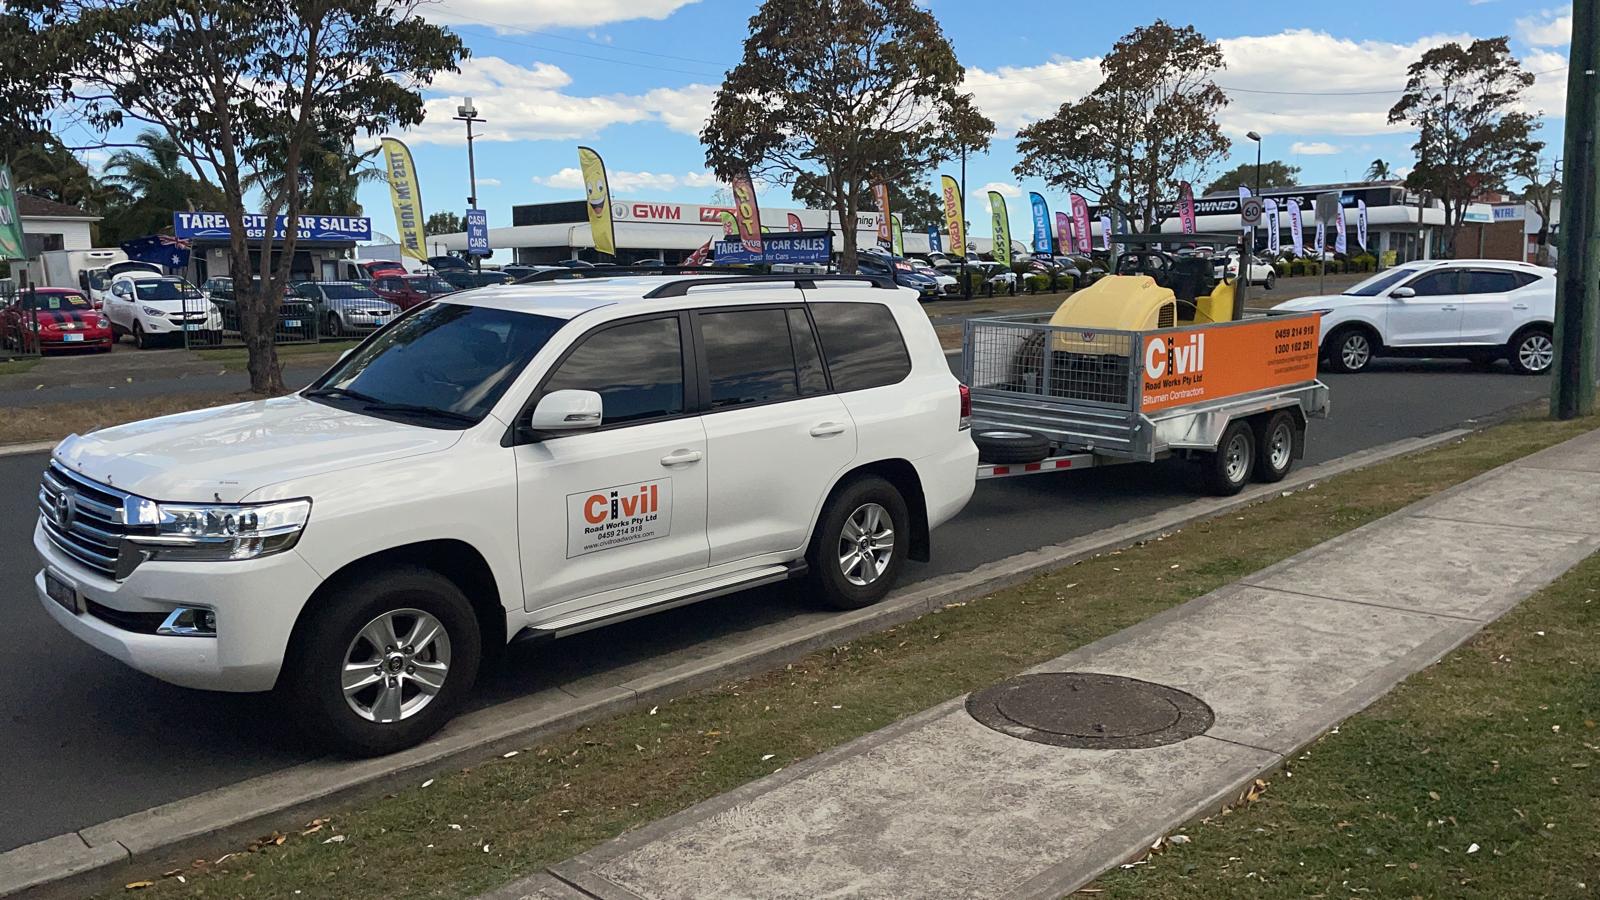
2. Bitumen Resurfacing
- Bitumen, a flexible and water-resistant material, extends the life of driveways.
- Seals existing cracks and protects against moisture damage.
- Suitable for residential and commercial driveways.
3. Concrete Overlay
- A thin layer of concrete mix applied over an old driveway.
- Offers a durable and smooth surface but requires sealing for protection.
- Best for driveways that already have a concrete base.
4. Gravel and Crushed Stone Resurfacing
- Used for rural driveways or areas with minimal vehicle traffic.
- Provides a natural and low-cost option but requires regular maintenance.
- Suitable for temporary or seasonal driveway restoration.
5. Resin-Bound Driveways
- A combination of resin and natural stone aggregates.
- Offers a decorative and permeable surface with excellent drainage.
- More expensive than asphalt or bitumen but highly durable.
How to Resurface a Driveway
Proper preparation and execution ensure a long-lasting and smooth driveway surface. Below is a step-by-step process for resurfacing an asphalt or bitumen driveway:
Step 1: Clean the Driveway
- Remove dirt, debris, and weeds using a broom or pressure washer.
- Scrub away oil stains to prevent surface adhesion issues.
- Let the driveway dry completely before starting the resurfacing process.
Step 2: Repair Cracks and Potholes
- Fill small cracks with asphalt crack filler or bitumen sealant.
- Use a patching compound for deeper potholes, ensuring a level surface.
- Allow repairs to set and cure before applying the new surface layer.
Step 3: Apply a Bonding Agent
- A bonding agent helps the new layer adhere properly to the old surface.
- Spread the bonding material evenly over the existing driveway.
Step 4: Lay the Resurfacing Material
- For asphalt resurfacing, apply a thin layer of hot asphalt mix and spread it evenly.
- For bitumen resurfacing, heat the bitumen mix and pour it over the driveway.
- Smooth the surface with a trowel or paving machine for a uniform finish.
Step 5: Compact and Smooth the Surface
- Use a roller or compactor to ensure the material bonds well.
- Let the surface set for at least 24 to 48 hours before use.
Step 6: Seal the Driveway (Optional but Recommended)
- Apply a sealant to protect against UV rays, water, and chemical spills.
- Sealing enhances longevity and keeps the driveway looking fresh.
Cost and Durability of Driveway Resurfacing
The cost of resurfacing depends on the size of the driveway, material used, and labor costs. Here’s an estimate:
| Material | Cost per Square Meter | Durability |
|---|---|---|
| Asphalt | $20 – $50 | 10-15 years |
| Bitumen | $25 – $55 | 12-18 years |
| Concrete Overlay | $30 – $70 | 15-20 years |
| Gravel/Crushed Stone | $10 – $30 | 5-10 years |
| Resin-Bound | $50 – $100 | 15-25 years |
Factors Affecting Cost
- Surface Preparation – More repairs increase the cost.
- Material Choice – High-end materials like resin-bound surfaces are pricier.
- Labor Costs – Hiring professionals adds to the overall expense but ensures quality.
Maintenance Tips for a Long-Lasting Driveway
- Seal the driveway every 2-3 years to maintain protection.
- Clean spills immediately to prevent stains and material breakdown.
- Avoid heavy loads and sharp objects that can damage the surface.
- Fix cracks early to prevent moisture from worsening the damage.
- Ensure proper drainage to avoid water pooling.
Conclusion
Driveway resurfacing is an effective way to restore an aging or damaged driveway without the high cost of a full replacement. Identifying when resurfacing is needed and choosing the best material ensures durability and long-term performance.
For professional driveway resurfacing solutions, contact our expert resurfacing team today for a free assessment and quote.