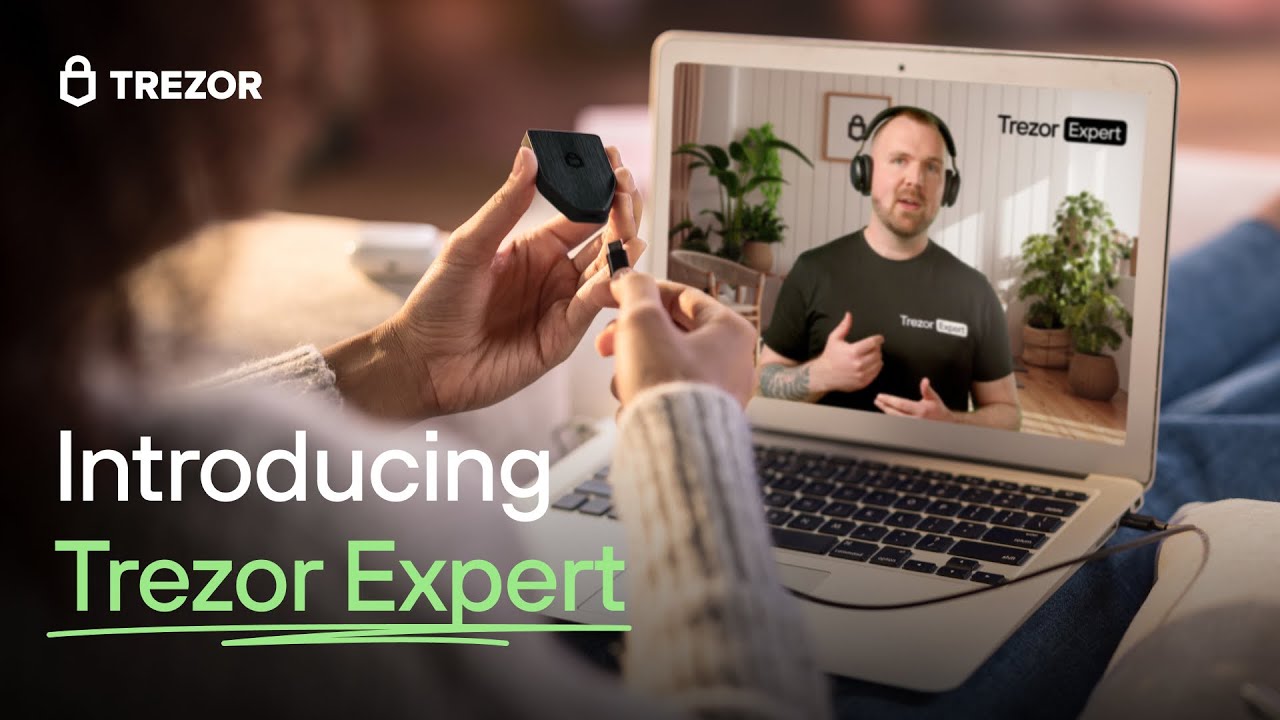
As cryptocurrency continues to gain traction, securing digital assets is more critical than ever. Trezor, a pioneer in hardware wallets, provides an offline storage solution to safeguard your funds against cyber threats. If you’ve recently purchased a Trezor device, your setup journey begins at Trezor.io/start. This guide will walk you through the essential steps to configure your device securely and efficiently.
Why Use a Trezor Hardware Wallet?
Unlike software wallets that remain connected to the internet and are vulnerable to hacks, Trezor hardware wallets keep private keys stored offline. Whether you own the Trezor Model One or the advanced Trezor Model T, both devices offer robust security features designed to protect your cryptocurrencies from unauthorized access.
How to Set Up Your Trezor Wallet
Step 1: Visit Trezor.io/Start
To begin, connect your Trezor hardware wallet to your computer using the provided USB cable. Open your browser and navigate to Trezor.io/start. This official setup page ensures you follow the correct process and avoid potential phishing threats.
Step 2: Download and Install Trezor Suite
Trezor Suite is the official application for managing your wallet. Follow these steps:
1. Download the latest version of Trezor Suite for Windows, macOS, or Linux from the official website.
2. Install and launch the application.
3. Connect your Trezor device, and if required, install the latest firmware update for enhanced security.
Step 3: Create or Restore a Wallet
Upon detecting your device, Trezor Suite will prompt you to:
· Create a New Wallet: Generate new private keys and set up a fresh wallet.
· Recover an Existing Wallet: If you have a recovery seed, you can restore an old wallet effortlessly.
Step 4: Secure Your Recovery Seed
Trezor generates a unique 12- or 24-word recovery seed, which acts as a backup in case you lose access to your device. It is vital to:
· Write down the recovery phrase on paper (never store it digitally).
· Keep the seed phrase in a secure location, away from prying eyes.
· Never share it with anyone—losing control of your recovery seed means losing access to your funds.
Step 5: Set Up a PIN for Extra Security
A PIN code prevents unauthorized access to your device. During the setup, you will be asked to create a PIN. Ensure that:
· You choose a PIN that is difficult to guess.
· You never share or store it online.
Step 6: Manage Your Cryptocurrencies
Once setup is complete, you can start managing your digital assets:
· Send and receive cryptocurrencies securely.
· Monitor your portfolio through the Trezor Suite dashboard.
· Integrate your Trezor wallet with external applications for added functionality.
Best Practices for Enhanced Security
· Double-check URLs: Always visit official Trezor websites to avoid phishing scams.
· Enable passphrase protection: This adds an extra layer of security beyond the PIN code.
· Regularly update firmware: Always install the latest firmware updates to keep your device secure.
Final Thoughts
Setting up your Trezor hardware wallet via Trezor.io/start is an essential step in safeguarding your cryptocurrency. By following the proper setup procedures and security practices, you can ensure your digital assets remain protected against online threats. Embrace the security and peace of mind that comes with using a Trezor hardware wallet today!